

How To Create A Business Name On Facebook
Looking to get started with social? Our guide shows you how to set up a Facebook account for your business.

With over 2.45 billion monthly active users, Facebook is one of the biggest platforms available to small businesses. Facebook is the perfect platform to promote content from your blog, or to share images, video and news with your followers.
This guide will take you through the step-by-step process of setting up a Facebook page for your business. Don't panic if you have never set up an account before, whether for business or personal use, by the end of this guide you will feel confident enough to set up and start posting
We've also included plenty of visual aids and links to direct you to the appropriate pages, just to make the whole setting up process that little bit easier.
Step 1: Sign Up
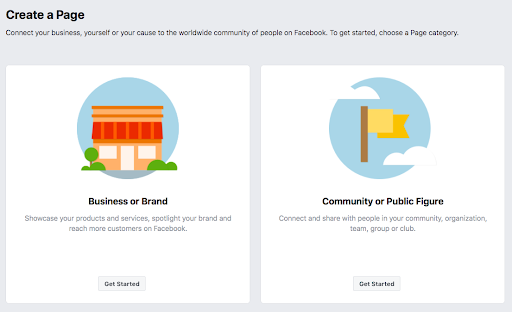
Go to https://www.facebook.com/pages/create to create your account. Facebook will then give you the option to select the type of page you want to create - business/brand or community/public figure. As we are setting up the account for business purposes, go ahead and click the Get Started button for that option.
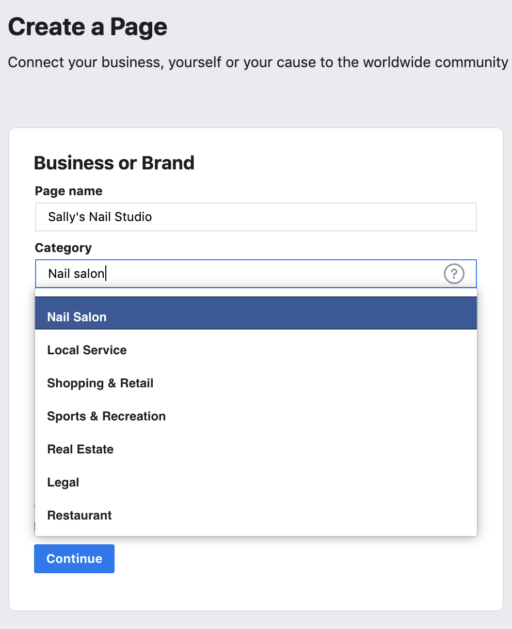
The next step is entering your business information. Enter your business name, or the name people are most likely to use to search for your business.
Under category, type in a word or two that best describes your company and Facebook will provide you with a few suggestions. Choose the option that best describes your business, and the one that customers are most likely to search under. You can add more categories later, which we will show in the following steps.
Once you have chosen your business category, you will be asked to fill out some further information, such as your address and phone number. You have the choice to keep this information private for only your region to see, or to make it public for everyone to view. Once you are happy with what you have filled out, click Continue.
Step 2: Add Pictures
You will now need to add a profile and cover picture for your Facebook page. Your profile picture will be a visual representation of your brand, so make sure to choose a photo which aligns with your brand and is easily identifiable to your business.
Your profile picture can be your company logo or, if you don't have a logo, a popular image that is linked to your company. Your profile picture appears on the top left of your Facebook page and is cropped into a circle, so make sure to not leave any crucial details in the corners.
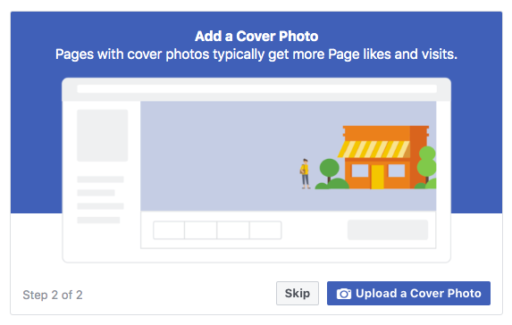
Your profile image will be 170 x 170 pixels on desktop and 128 x 128 pixels on mobile, so select an image that is larger than this so it does not lose quality when uploaded. Once you are happy with the picture you have chosen, click "Upload Profile Picture". The cover picture takes up more room on your Facebook page, so is more prominent to someone who finds themselves on your page. It should be an image that captures the essence of your brand and grabs the attention of the consumer. It uploads at 820 x 312 pixels on desktop and 640 x 360 on mobile. Again, once you are happy with your image, click Upload Cover Photo.
There you have it, you have just made your Facebook business page (woohoo!)
This is of course just the skeleton of your page, and a lot needs to be added to it before sharing it with your new readers. Don't worry, at this stage your page is just a preview, so nobody else can view it until the page is made public (which we will show you how to do soon.)
Not an FSB member? You can download a version of the guide by visiting our subscriber page.
Step 3: Create Your Username
Your username is how people find you on Facebook, so it's important to make it as simple and obvious as possible. Usually your business name or a close variation is best. Get started by clicking "Create Page @Username" in the left menu to create your username.
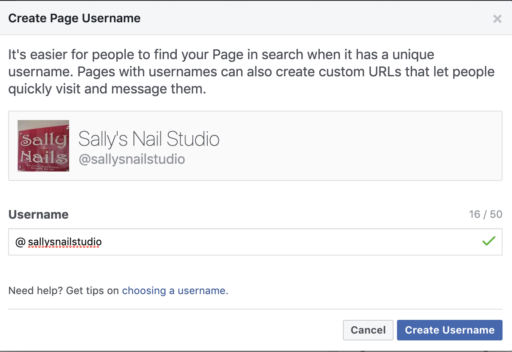
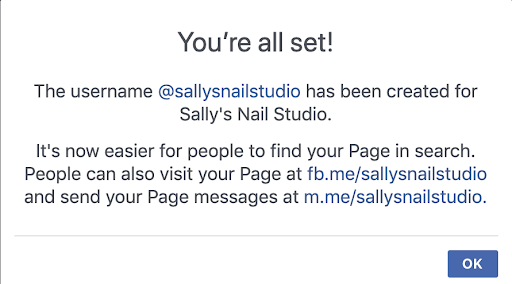
Once you've typed in your username, click "Create Username"to make it. A box will appear showing you the links people can use to connect with your business on Facebook and Messenger.
Step 4: Add Your Business Details
Your Facebook page is usually the first place your customers will come to get the information they need about your business. Information such as your opening times and locations for consumers on the go is always invaluable to have on your page.
Start filling out your business details by clicking "Edit Page Info" in the top menu. You can fill in all your important business information that you'd like to share with your customers.
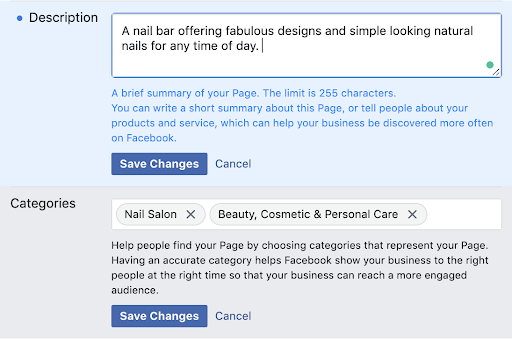
This should be a brief description of your business, that will appear in search results. Make sure to keep it short and simple. Here is where you can add additional categories (from step 1) to make sure your page reaches all the right people.
You'll then want to fill in all the further information of your business:
- Contact information
- Locations
- Opening/closing hours
- Any extra information
Click "Save Changes" to make sure your information saves onto your page as you're going along.
Step 5: Tell Your Story
Now that you've filled out your basic information for your business, it's not very engaging for your audience to want to stay on your Facebook page and explore your company.
Fortunately, there is a section where you can create a longer description for your business. Click "See more" in the left menu, then click "About", and the click "Our Story"on the right-hand side.
This is a great opportunity to create a more detailed and attention-grabbing description, to inform customers about what your business can offer them and why they should like or follow your page.
You can also enter a headline and text to your story, and upload a relevant photo. Once you're done, click "Publish".
Step 6: Create Your First Post
Before you start inviting people to like your Facebook Page, it is important to have some valuable and readable content on there. Either create your own posts, or share relevant content from other business pages in your industry.
The first post your customers will see will set the tone and theme of your Facebook Business Page and what your company has to offer, so make sure it's a compelling one that will make readers want to return to your page.
Step 7: Invite your audience!
Congratulations! You are now the proud owner of a Facebook Business Page.
Now you can start inviting your existing Facebook friends to like your page. You can also use other channels such as your website or blog to promote your page and help your audience to find it.
Bitten by the social bug?
If you are looking to get started with digital marketing we've got a suite of resources to help you find the right platform for your business. Once you have decided, our guides to setting up Snapchat, Twitter, Instagram, YouTube and LinkedIn accounts for your business will get you up and running and don't forget to check out our on-demand webinars to make the most of your social media accounts on our skills hub.
How To Create A Business Name On Facebook
Source: https://www.fsb.org.uk/resources-page/how-to-create-a-facebook-account-for-business.html#:~:text=Go%20to%20https%3A%2F%2Fwww,Started%20button%20for%20that%20option.
Posted by: rodriguezmolaing.blogspot.com
0 Response to "How To Create A Business Name On Facebook"
Post a Comment